
Leather Tooling Mastery: Transform Plain Hide Into Stunning Art
There’s something almost magical about pressing a stamp into damp vegetable-tanned leather and watching a crisp design appear, as if you’ve whispered a secret into the hide itself. Leather tooling is that bridge between raw material and storytelling craft, where patience meets pressure and a flat piece of leather transforms into a textured masterpiece. Whether you’re chasing the romance of Western saddle art or modern minimalist patterns, learning this skill opens a creative door that never quite closes.
In this guide, we’ll unpack everything you need to start tooling leather like a seasoned artisan, from the tools you can’t skip to the techniques that separate clean work from frustrating mistakes.
What Is Leather Tooling?
Leather tooling is the craft of decorating vegetable-tanned leather by carving, stamping, or embossing designs into its dampened surface. Artisans use swivel knives, bevelers, and decorative stamps to create raised patterns, textures, and imagery that become permanent once the leather dries and is finished.
Why Vegetable-Tanned Leather Is the Only Choice
Not all leather plays nice with tooling. Vegetable-tanned leather, often called “veg-tan,” is treated with natural tannins from tree bark, giving it a dense, firm structure that holds impressions beautifully. Chrome-tanned leather, by contrast, springs back like memory foam and refuses to keep your designs.
When you cast water onto veg-tan, it temporarily softens, allowing tools to sink in cleanly. As it dries, every detail locks into place. That responsiveness is exactly why generations of leatherworkers have stuck with it.
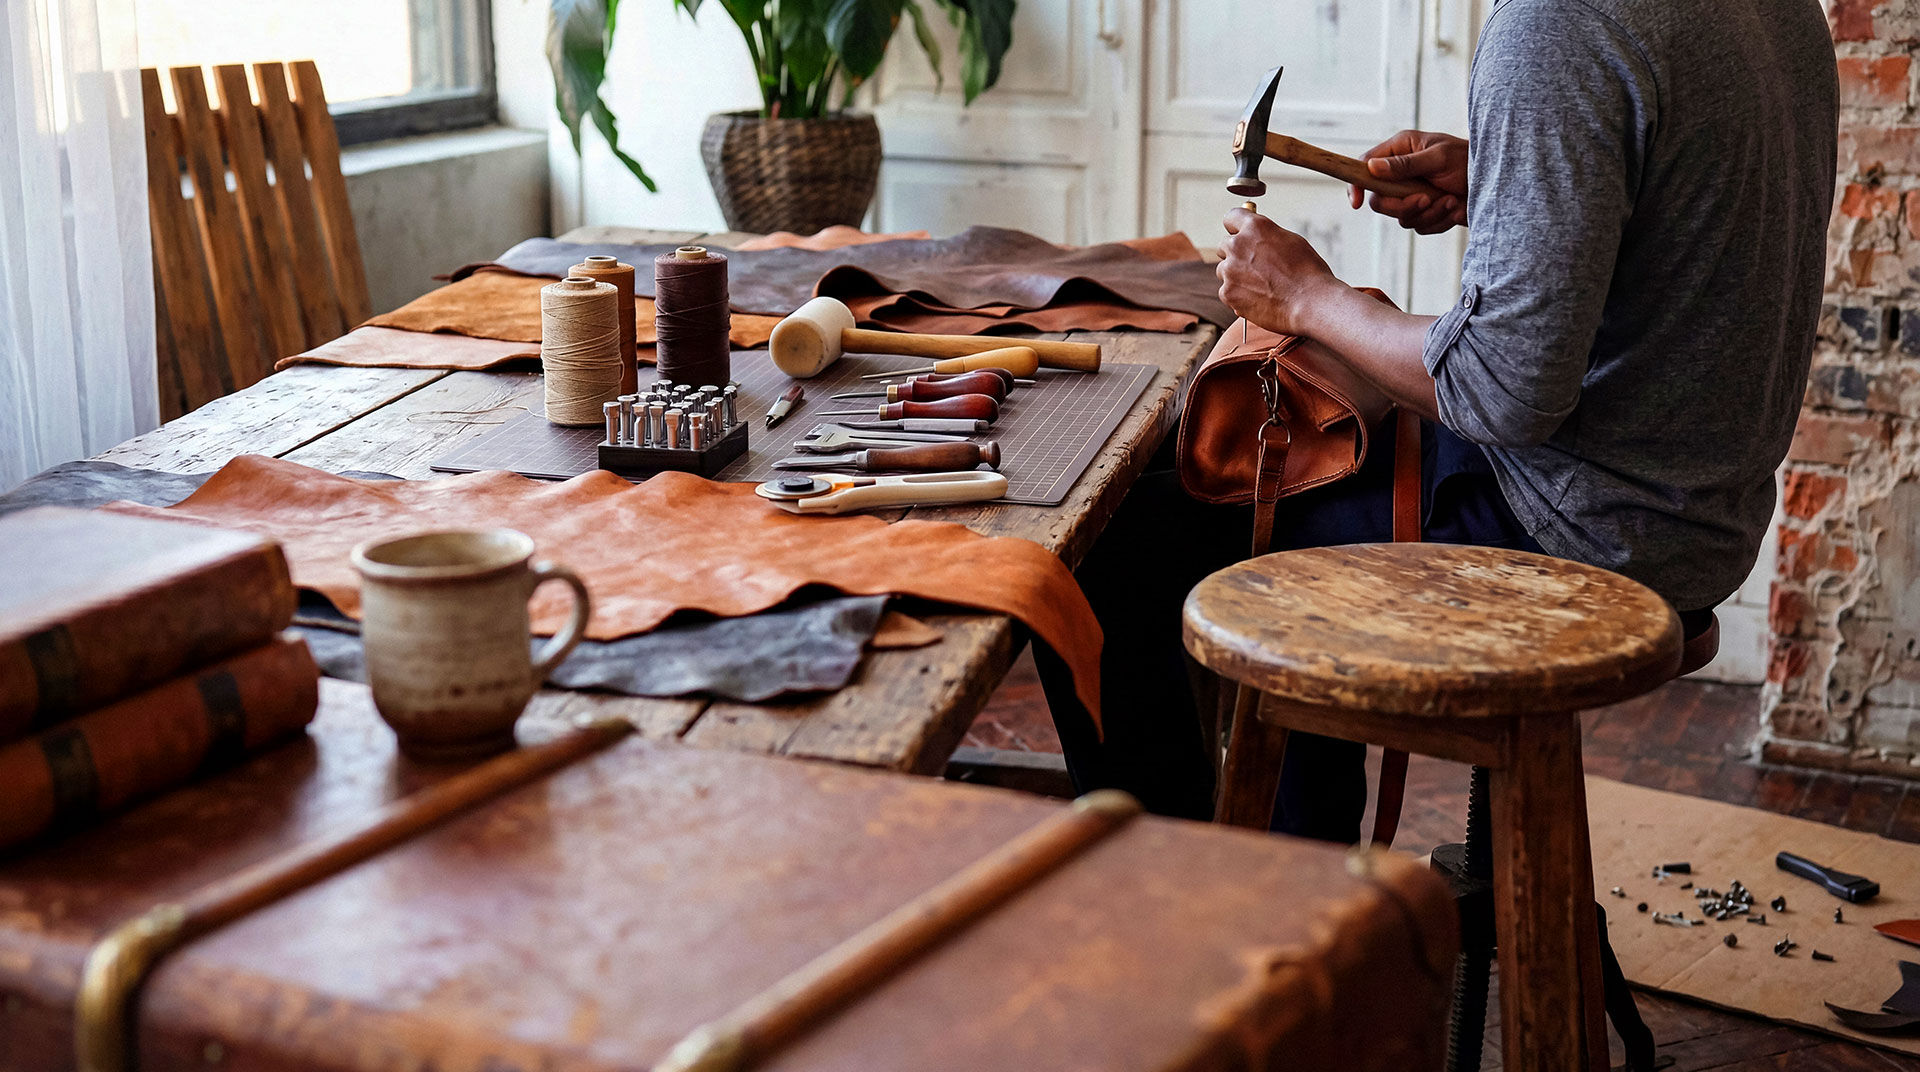
The Core Toolkit Every Beginner Needs
Starting out can feel overwhelming when you peek into a leather supply catalog. The truth is, you only need a handful of well-made tools to produce stunning results. Investing in quality from the start saves money and frustration later, and a thoughtful overview of essential leather crafting tools can help you build a kit that grows with your skills.
Swivel Knife
Your primary cutting tool. It carves the outline of your design into the leather surface, setting the foundation for every other tool you’ll use.
Beveler
Used to create depth along carved lines, the beveler pushes one side of a cut down, producing that signature 3D effect.
Backgrounder
This textured stamp pushes negative space downward, making your main design pop forward with definition and contrast.
Mallet
A poly or rawhide mallet drives stamps into the leather. Never use a metal hammer, it will damage your tool heads.
Pear Shader
Creates smooth, sloped impressions inside petals, leaves, and curves. It adds dimension where bevelers can’t reach.
Marble or Granite Slab
A hard, flat surface is non-negotiable. It absorbs the force of your strikes and gives stamps a clean, crisp impression.
Step-by-Step: How to Tool Leather
1. Case the Leather
Casing simply means moistening the leather so it accepts tool impressions. Use a damp sponge or spray bottle to apply water evenly to both sides. Wait until the surface returns close to its original color before you begin tooling. Too wet, and details blur. Too dry, and the leather resists you.
2. Transfer Your Design
Place tracing paper over your sketch and trace it with a stylus, transferring the pattern lightly onto the cased leather. Take your time here. Crooked guidelines lead to crooked work.
3. Cut With the Swivel Knife
Hold the swivel knife upright, applying steady pressure as you follow your traced lines. Aim for a depth of roughly half the leather’s thickness. Smooth, confident strokes beat hesitant scratches every time.
4. Bevel the Edges
Walk the beveler along one side of each cut, tapping it gently with your mallet. This is where flat designs start to breathe and rise off the surface.
5. Add Texture and Detail
Use shaders, veiners, and decorative stamps to build interior detail. Backgrounders come last, knocking down empty spaces to make your design the star of the piece.
6. Let It Dry and Finish
Allow your work to air dry completely before applying dyes, antiques, or sealers. Rushing the finish ruins hours of careful tooling.
Common Mistakes to Avoid
- Over-wetting the leather, which causes muddy, soft impressions that lack crispness.
- Using too much force with the mallet, splitting the fibers and leaving permanent dents.
- Skipping the beveling step, which keeps your design looking flat and lifeless.
- Tooling on chrome-tanned leather, an exercise in frustration since impressions won’t hold.
- Working on a soft surface like wood or a table, which absorbs impact and dulls your results.
Design Inspiration: Where to Start
Traditional Sheridan-style florals remain a favorite for good reason, blending intricate vines and rosettes into hypnotic compositions. Geometric patterns and basket weaves offer cleaner, more modern alternatives for beginners who want strong results fast. Many crafters also turn to nature, copying bark textures, animal motifs, and botanical sketches into wearable art.
Pro Tip: Practice every new stamp on scrap leather before committing it to a real project. Build a personal reference sheet of impressions so you remember which tools create which effects.
Caring for Your Leather Tools
Quality tools can last generations if you treat them right. Wipe stamps and blades dry after each session to prevent rust. Store them in a roll or padded case so heads don’t bang against each other. Strop your swivel knife regularly to keep cuts smooth and effortless. A dull blade tears fibers instead of slicing them.
Frequently Asked Questions
How long does it take to learn leather tooling?
Most beginners produce respectable work within a few weeks of consistent practice. Mastery, on the other hand, is a years-long journey. The good news is that even early projects can look impressive with the right tools and patience.
Can I tool leather without a swivel knife?
Technically yes, you can stamp designs without cutting outlines first, but carved designs have far more depth and definition. A swivel knife is the single most worthwhile investment for serious tooling work.
What thickness of leather works best for tooling?
Leather between 4 and 8 ounces (roughly 1.6mm to 3.2mm) tools beautifully. Thinner leather doesn’t hold deep impressions, while thicker leather requires more force and effort to work cleanly.
Do I need to dye tooled leather?
Not at all. Many artisans finish tooled pieces with just a clear sealer to highlight the natural patina. Antique pastes, dyes, and stains are options, not requirements.
Why does my leather dry out while I’m tooling?
Leather loses moisture as you work, especially in dry climates. Re-cast the surface lightly with a damp sponge whenever impressions stop appearing crisp. Avoid soaking it again from scratch.
Can I use leather tooling techniques on belts and wallets?
Absolutely. Belts, wallets, holsters, journal covers, and bag panels are classic tooling projects. Just ensure the leather you choose is vegetable-tanned and thick enough to hold detail.
Final Thoughts
Leather tooling rewards patience like few other crafts. Every project teaches your hands something new, whether it’s the perfect angle for a beveler or the exact moisture level that makes stamps sing. Start with quality tools, work on good vegetable-tanned hide, and give yourself permission to make ugly practice pieces along the way. Before long, you’ll look down at a finished piece and realize you’ve turned a flat slab of leather into something genuinely beautiful, and that feeling never gets old.